Are you tired of your shoelaces coming undone at the worst possible moments?
Say goodbye to tripping over loose laces or constantly retying your shoes. With the loop lockdown lacing method, you can confidently strut your stuff while keeping your shoes snug and stylish.
Imagine the convenience of never worrying about your laces coming undone during a morning run or a busy day at work. The loop lockdown method is practical and a game-changer for enhancing your overall shoe-wearing experience.
So, if you're ready to lace it up and lock it down, join us as we take you through 9 simple steps to master the loop lockdown lacing method. From learning this technique's intricacies to adding your personal touch, this guide is your key to achieving a secure and fashionable look. Get ready to tie the knot like a pro, and prepare for a future where loose laces are a thing of the past!
When and Why to Use the Loop Lockdown Lacing Method
When choosing the right lacing method for your shoes, the loop lockdown lacing method is a versatile technique that can be used in various situations. Here's a breakdown of when and why you should consider using this lacing method:
- Athletic Activities: The loop lockdown method can provide exceptional support and stability if you're engaging in high-impact sports or intense physical activities. It ensures that your shoes stay securely fastened throughout your movements, reducing the risk of injury and preventing distractions caused by loose laces.
- Long-Distance Running: When you're hitting the pavement for a marathon or long-distance run, the last thing you want is to stop and retie your shoes constantly. This method keeps your laces snug and locked in place, allowing you to maintain your pace and focus solely on your performance.
- Outdoor Adventures: Whether you're hiking, trekking, or trail running, the loop lockdown method is an excellent choice. It prevents your laces from getting tangled in brush or snagged on rocks, ensuring a hassle-free and comfortable outdoor experience.
- Professional Settings: Maintaining a polished appearance is crucial in formal or business environments. This method provides a neat and tidy look, keeping your laces secure and preventing them from becoming undone during important meetings or presentations.
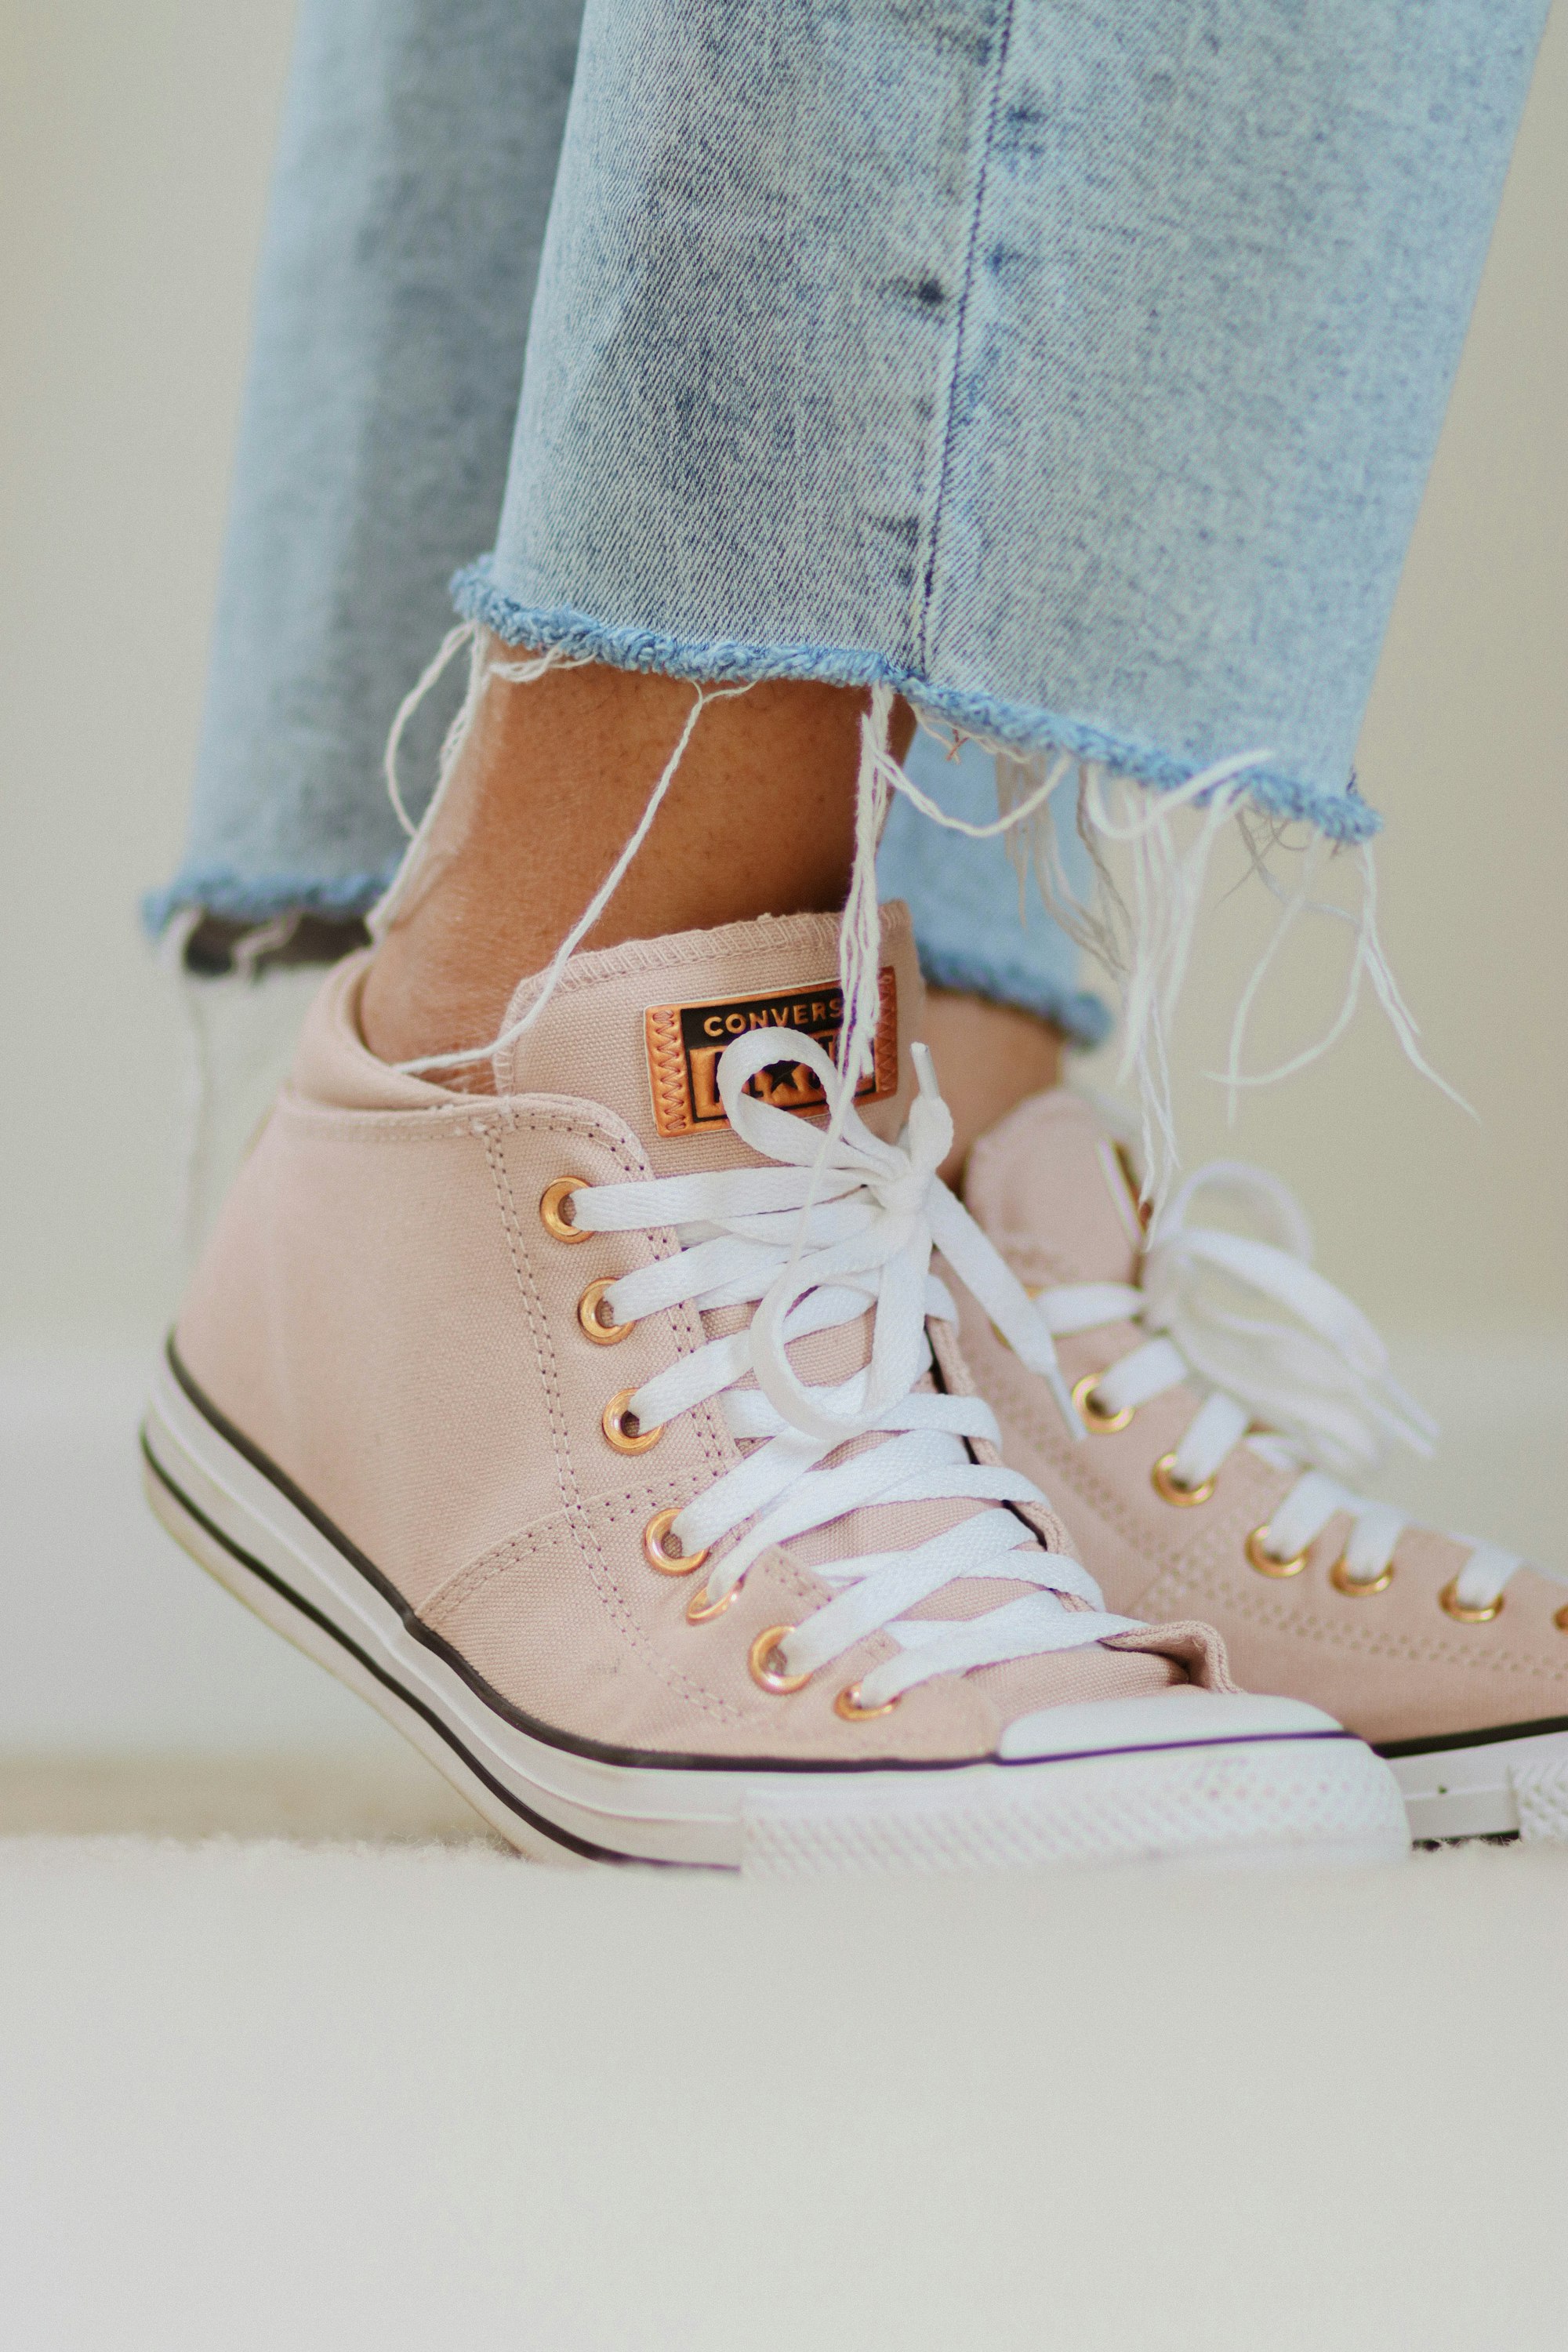
- Fashion Statement: Beyond practicality, the loop lockdown method can add a touch of style to your shoes. With different lacing patterns and color combinations, you can create unique and eye-catching designs, making a fashion statement that sets you apart from the crowd.
The loop lockdown lacing method is ideal for athletic activities, long-distance running, outdoor adventures, professional settings, and those seeking to express their personal style. By using this method, you'll enjoy the benefits of a secure fit, enhanced performance, and a stylish edge. Give it a try and experience the difference for yourself!
Step 1: Start with The Laces
Ensure you have a pair of long enough laces to comfortably lace your shoes. If needed, replace the laces with longer ones to accommodate the desired lacing pattern.
Step 2: Begin at The Bottom
Insert one lace end into the bottom eyelet of your shoe, starting from the inside and pulling it through to the outside. Repeat with the other lace end on the other side.
Step 3: Create the First Loop
Take the lace end on your right-hand side and cross it diagonally to the left side, threading it through the second eyelet from the bottom but from the outside in. Repeat this process with the lace end on your left-hand side, crossing it diagonally to the right side and threading it through the second eyelet from the bottom, also from the outside in. These loops will serve as the foundation for the loop lockdown technique.
Step 4: Criss-Cross the Laces
Continue the criss-cross pattern by taking the lace end on your right-hand side, crossing it over to the left side, and threading it through the corresponding eyelet. Repeat this process with the lace end on your left-hand side, crossing it over to the right side and threading it through the opposite eyelet. Repeat the criss-cross pattern until you reach the top of the shoe.
Step 5: Lockdown with Loops
As you continue the criss-cross pattern, maintain the loops created in Step 3. After threading each lace through the corresponding eyelet, loop it back around and thread it through the loop created in the previous step. This effectively locks the lace in place and prevents any unwanted slippage.
Step 6: Adjust the Tension
Throughout the lacing process, maintain an even tension on both sides. This will help achieve a balanced fit and prevent discomfort or pressure points. Tighten the laces enough to secure your foot firmly in the shoe, but not so tight that it restricts circulation or causes discomfort.
Step 7: Alternate the Lacing Pattern
As you approach the top of the shoe, you can continue with the criss-cross pattern or switch to a straight bar lacing method. The straight bar lacing involves threading the laces vertically through each set of eyelets, creating a clean and minimalistic look. Experiment with different patterns to find the one that suits your style and provides the desired level of tightness.
Step 8: Tie a Secure Knot
Once you've reached the top of the shoe, tie the laces into a secure knot or bow to keep them in place. Ensure the knot is tight enough to prevent any slippage during wear, but allow easy removal when needed.
Step 9: Check the Fit
After lacing up your shoes using the loop lockdown technique, take a moment to walk around and assess the fit. Make any necessary adjustments by slightly loosening or tightening specific sections of the laces to achieve the desired level of comfort and security.
Tips from Our Editors
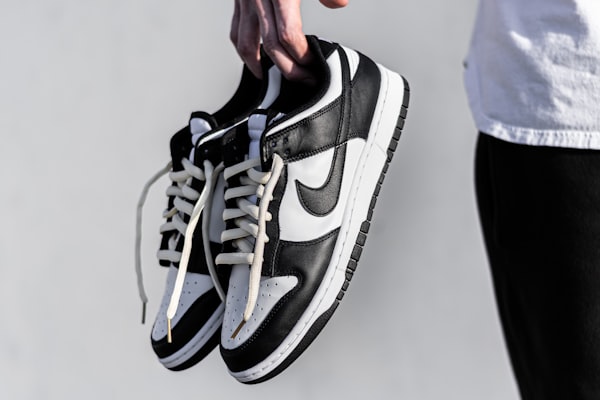
- Ensure Your Shoes Are Clean and In Good Condition: Since white pants can easily reveal dirt and scuffs, it's important to have your shoes free of any marks or stains before wearing them with white pants.
- Properly Store Your Shoes: When you're not wearing them, it's crucial to store your shoes correctly. Locate a cool and dry place away from direct sunlight to maintain optimal conditions. Use shoe trees or delicately stuff the shoes with tissue paper to preserve their shape and prevent creasing.


On a Final Note
And there you have it! You're now equipped with the knowledge to keep your shoes secure, stylish, and free from tripping hazards.
So go forth, my fellow shoe enthusiasts, and lace up like the champions you are.
Remember, with the Loop Lockdown technique, you'll never be tied down by loose laces again. Happy lacing, and may your shoe game always be on point!
Related Articles