Are you tired of tying your running shoes the same old way?
Imagine having a shoe lacing method that provides a secure fit and adds a touch of flair to your running shoes. Whether you're a seasoned runner looking to enhance your performance or a beginner seeking that perfect fit, the Runner's Loop is here to revolutionize your running experience.
Say goodbye to loose laces that can cause discomfort, and hello to a snug, customized fit that will keep your feet feeling supported mile after mile. You can kiss those annoying mid-run adjustments goodbye with the runner's loop. Plus, imagine the envy-inducing looks you'll get from fellow runners as they admire your perfectly laced shoes.
Ready to become a master of the Runner's Loop? Today we walk you through the 9 simple steps to help you master this lacing technique like a true champion. So, grab your running shoes, lace them up, and get ready to experience the runner's loop magic. Your runs will never be the same again!
When and Why to Use the Runner's Loop Lacing Method
When it comes to running, the proper fit of your shoes can make all the difference in your performance and overall comfort. That's where the runner's loop lacing method comes into play. But when and why should you use this innovative lacing technique? Let's dive in and find out!
- Intense Training Sessions: If you're planning for an intense training session or a race, the runner's loop is your go-to lacing method. It provides a secure and snug fit, reducing any unnecessary movement of your feet within the shoes.
- Long-Distance Runs: When you hit the pavement for long-distance runs, your feet swell over time. This method allows you to adjust the tightness of your laces along the way, ensuring a comfortable and supportive fit throughout your entire run.
- Downhill Descents: Descending steep hills can strain your toes and lead to discomfort. By using the runner's loop, you can customize the tightness around the forefoot, providing extra support and preventing your toes from jamming against the front of your shoes.
- Enhanced Stability: This method is your secret weapon if you're looking for added stability during your runs. By incorporating this lacing technique, you can achieve a locked-in fit around the midfoot, minimizing unwanted foot movement and maximizing stability.
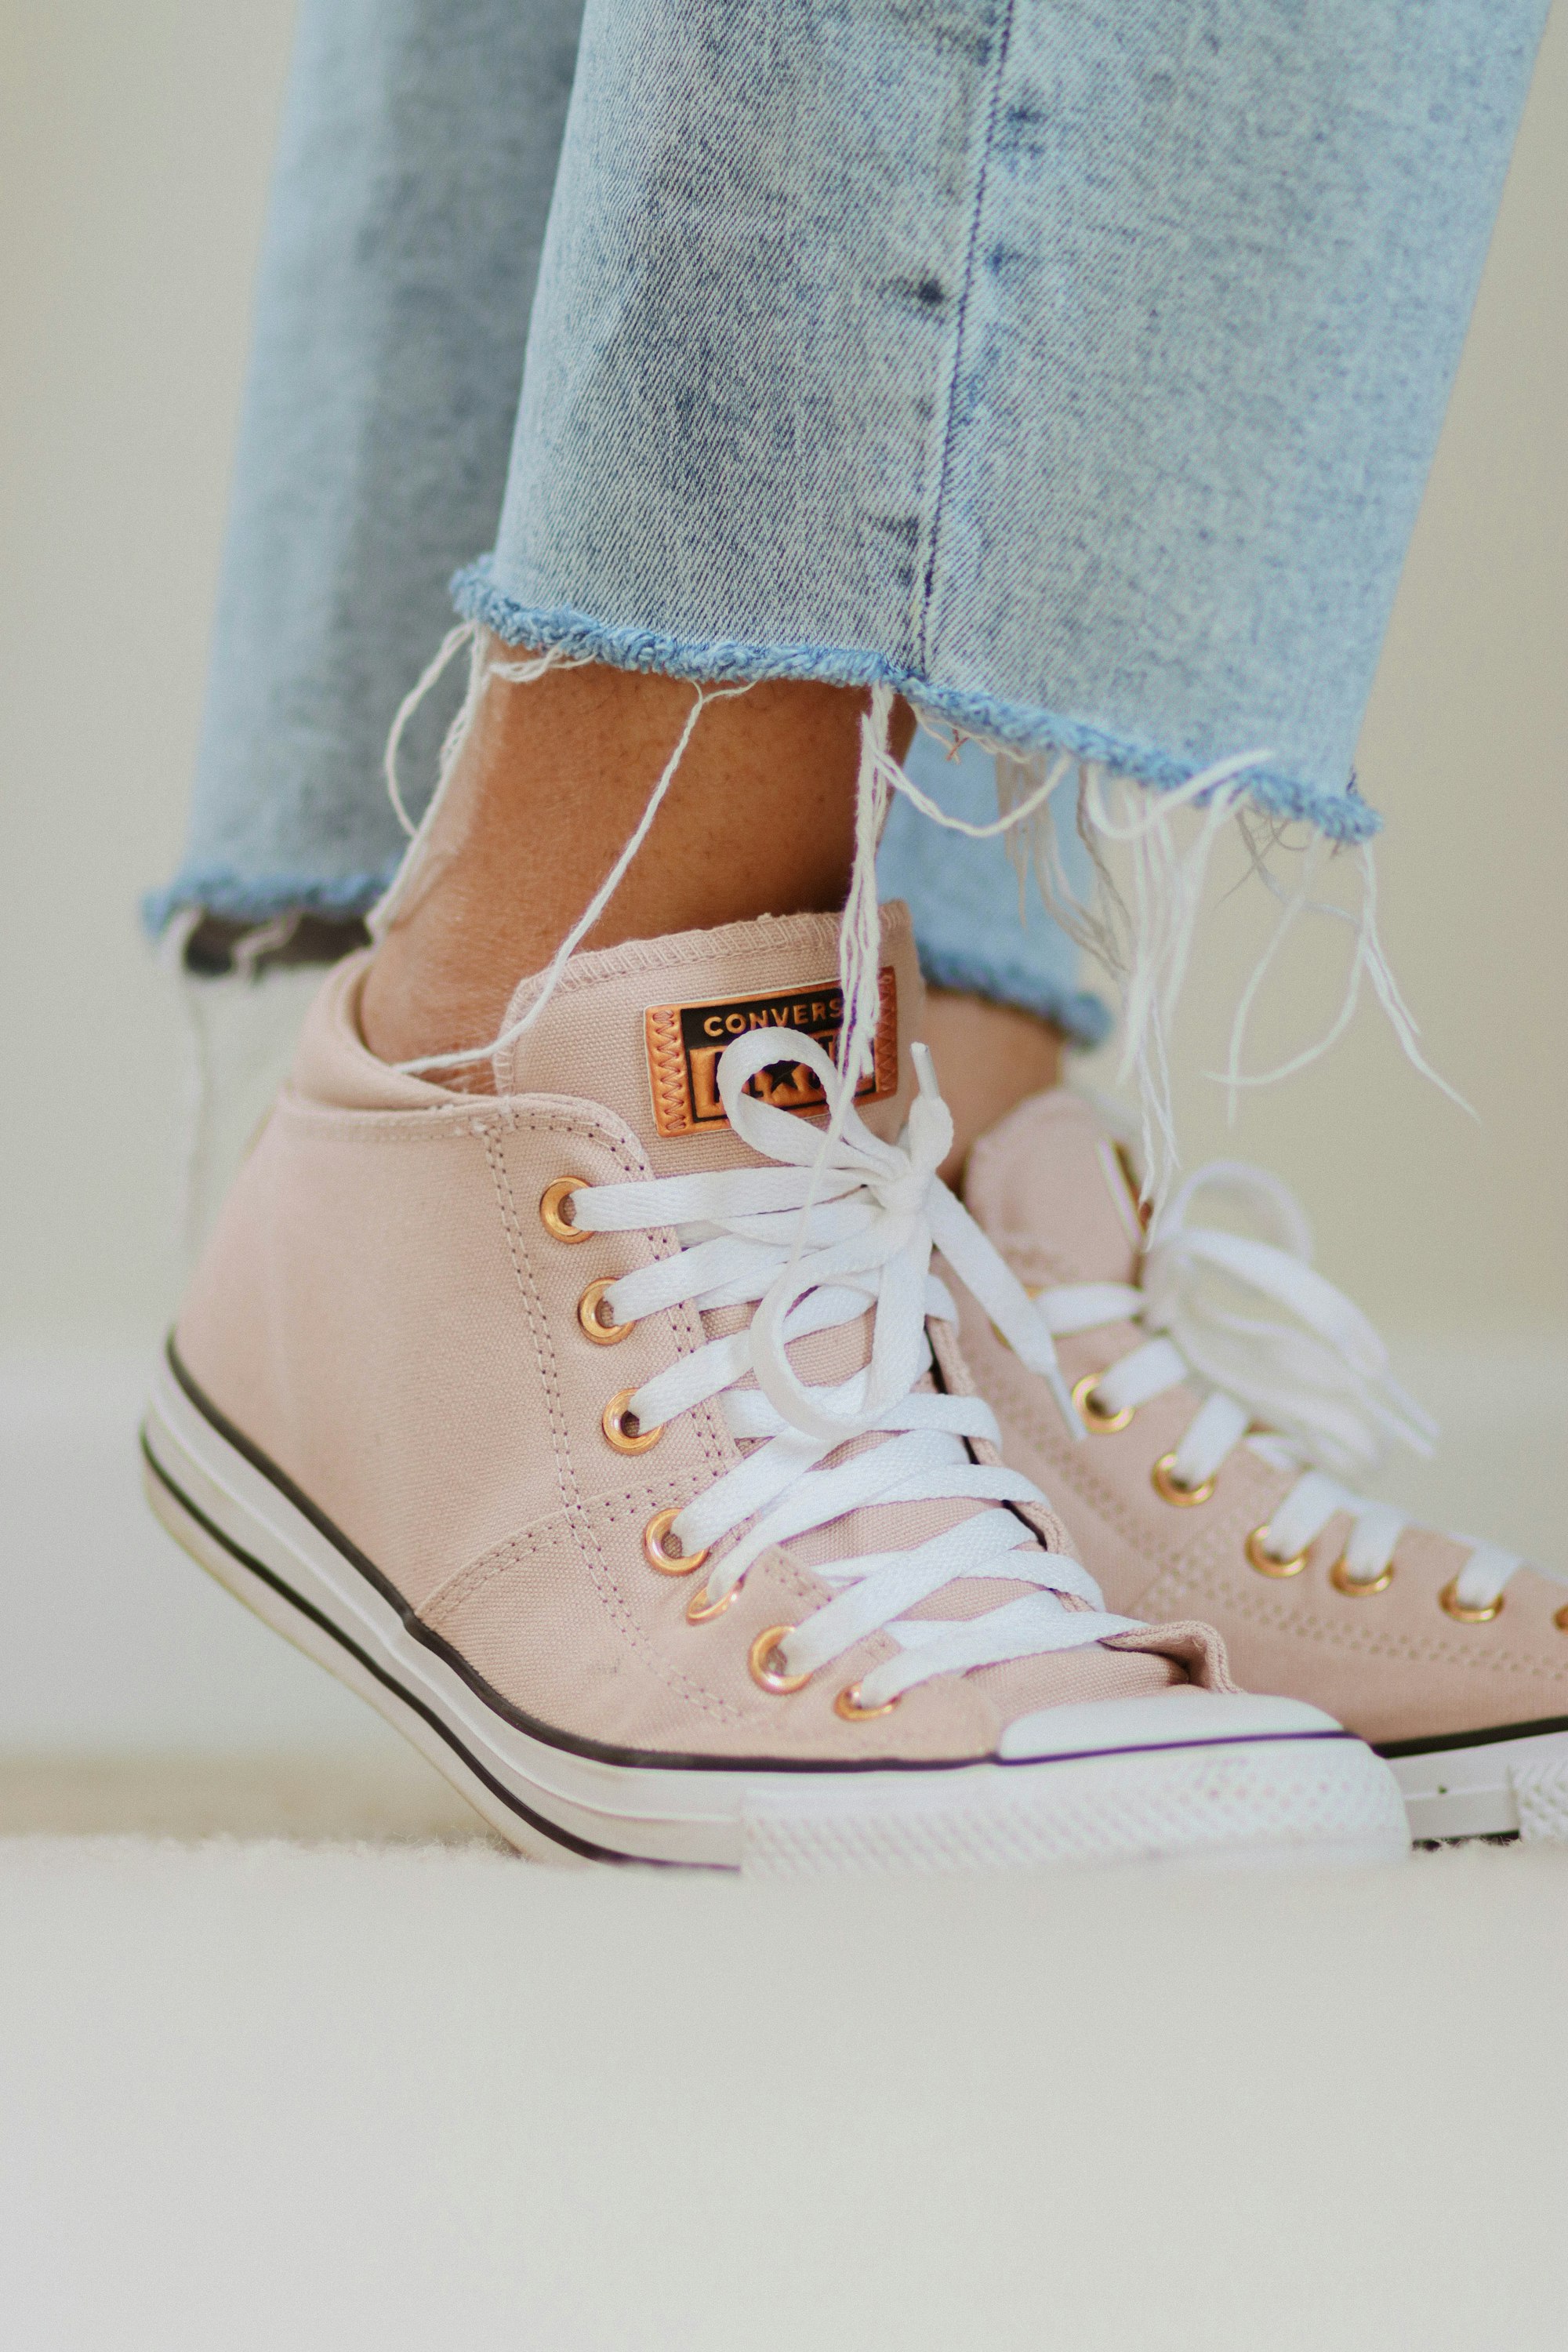
- Shoe Customization: Who says your running shoes can't reflect your unique style? The runner's loop offers functional benefits and adds a touch of flair to your running footwear. Experiment with different lacing patterns and colors to make a statement as you hit the streets.
The runner's loop lacing method should be your choice when you want a secure fit, comfort, and stability during intense training sessions, long-distance runs, or downhill descents. Additionally, it allows for customization and personalization of your running shoes. So, lace up confidently, embrace the runner's loop, and elevate your running experience to new heights!
Step 1: Start with The Laces
Ensure you have a pair of long enough laces to comfortably lace your shoes. If needed, replace the laces with longer ones to accommodate the desired lacing pattern.
Step 2: Begin at The Bottom
Insert one lace end into the bottom eyelet of your shoe, starting from the inside and pulling it through to the outside. Repeat with the other lace end on the other side.
Step 3: Create the Runner's Loop
Take one lace end and cross it to the opposite side, threading it through the next higher eyelet from the outside. Leave a lace loop at the topmost eyelet on this side of the shoe. Repeat this process with the other lace end on the other side, creating another loop at the topmost eyelet on that side.
Step 4: Criss-Cross the Laces
After creating the runner's loops, continue the criss-cross pattern by taking the lace end on your right-hand side, crossing it over to the left side, and threading it through the corresponding eyelet. Repeat this process with the lace end on your left-hand side, crossing it over to the right side and threading it through the opposite eyelet. Continue the criss-cross pattern until you reach the top of the shoe.
Step 5: Lock the Runner's Loop
As you continue the criss-cross pattern, maintain the runner's loops created in Step 3. After threading each lace through the corresponding eyelet, loop it back around and thread it through the loop created in the previous step. This secures the loop, creating a locking mechanism that prevents heel slippage.
Step 6: Adjust the Tension
Throughout the lacing process, maintain an even tension on both sides. Tighten the laces enough to secure your foot firmly in the shoe but not so tight that it causes discomfort or restricts circulation. The runner's loop provides additional stability around the heel area, so pay attention to adjusting the tension in this area to achieve a snug fit.
Step 7: Alternate the Lacing Pattern
As you approach the top of the shoe, you can continue with the criss-cross pattern or switch to a straight bar lacing method. The straight bar lacing involves threading the laces vertically through each set of eyelets, creating a clean and minimalistic look. Experiment with different patterns to find the one that suits your style and provides the desired level of tightness.
Step 8: Tie a Secure Knot
Once you've reached the top of the shoe, tie the laces into a secure knot or bow to keep them in place. Ensure the knot is tight enough to prevent any slippage during wear but still allow easy removal when needed.
Step 9: Check the Fit
After lacing up your shoes using the runner's loop technique, take a moment to walk around and assess the fit. Ensure your heel feels secure and stable without slipping or discomfort. Make any necessary adjustments by slightly loosening or tightening specific sections of the laces to achieve the desired level of comfort and security.
Tips from Our Editors
- Maintain Clean and Well-Maintained Shoes: Considering the potential for dirt and scuffs to be visible on white pants, it's essential to ensure that your shoes are devoid of any marks or stains before pairing them with white pants.
- Implement Proper Shoe Storage Practices: When your shoes are not in use, it is crucial to store them correctly. Choose a cool and dry location, away from direct sunlight, to preserve the optimal conditions. Utilize shoe trees or gently insert tissue paper to retain their shape and prevent creases.


On a Final Note
So there you have it. You are now officially part of the loop of champions! With the runner's lacing method under your belt (or should I say, under your shoes), you're equipped with the knowledge to enhance your comfort, style, and overall running performance.
Embrace the power of the loop, experiment with different lacing patterns, and make every step victorious.
Remember, it's not just about running faster but also running smarter. So, go out there, conquer those miles, and let the runner's loop be your trusted companion on the road to greatness.
Related Articles