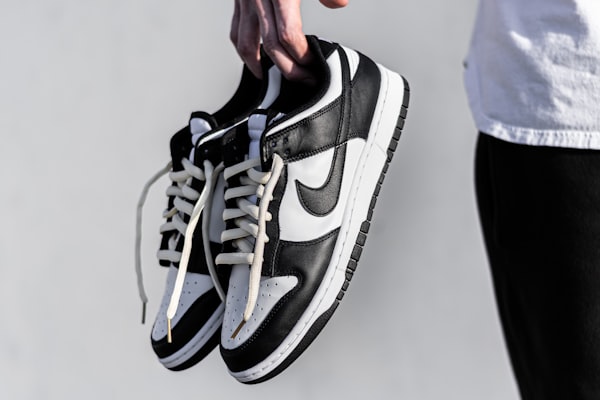
Are your shoelaces in a constant tangle?
We've all been there, struggling with messy knots that just won't hold. But fear not! Today, we're revealing the ultimate solution to your lacing woes—the surgeon's knot method.
Imagine effortlessly tying the perfect knot that stays secure throughout the day, no matter how active you are. Get ready to impress with perfectly laced shoes that scream style and confidence.
Get those laces ready because today we take you on a journey to mastering the surgeon's knot lacing method. From tangled mess to lacing success, your shoes will thank you. Let's dive in and become knot-tying connoisseurs!
When and Why to Use the Surgeon's Knot Lacing Method
When it comes to shoe lacing, the surgeon's knot lacing method is a valuable technique to have in your repertoire. This lacing method is particularly useful when you need extra security and tightness, such as in athletic activities or when wearing shoes that tend to loosen easily. So when should you use the surgeon's knot? Here are a few scenarios where this method shines:
- Sports and Physical Activities: If you're engaging in high-impact sports like running, basketball, or hiking, you need your shoes to stay firmly in place. The surgeon's knot provides extra stability, preventing your laces from coming undone mid-game or causing discomfort during intense movements.
- Long-Distance Walking or Travel: When you're embarking on a long walk or a trip that involves extended periods of walking, it's essential to keep your shoes snugly laced. This method ensures a secure fit, preventing blisters and discomfort caused by excessive foot movement.
- Slippery or Unpredictable Surfaces: Walking on slippery surfaces like wet pavements or icy sidewalks requires shoes that stay firmly on your feet. By using this method, you can trust that your laces won't loosen or untie, providing you with the stability and grip you need.
- Loose Shoelaces: The surgeon's knot can be a lifesaver if your shoelaces tend to come undone frequently. This method creates a double knot that holds tighter than a traditional knot, reducing the chances of your laces becoming untied throughout the day.
By utilizing the surgeon's knot lacing method in these situations, you can ensure a secure and comfortable fit for your shoes. It's a versatile method that adds an extra layer of confidence and reliability to your lacing technique.
Remember, the surgeon's knot may not be necessary for everyday casual wear, but it's an excellent technique to have up your sleeve when you need that extra hold. So next time you're gearing up for a challenging activity or dealing with slippery conditions, try this method and enjoy the peace of mind that comes with perfectly laced shoes.
Step 1: Start with The Laces
Ensure you have a pair of long enough laces to comfortably lace your shoes. If needed, replace the laces with longer ones to accommodate the desired lacing pattern.
Step 2: Begin at The Bottom
Insert one lace end into the bottom eyelet of your shoe, starting from the inside and pulling it through to the outside. Repeat with the other lace end on the other side.
Step 3: Criss-Cross at The Bottom
Take the lace end on your right-hand side and cross it diagonally to the left side, threading it through the second eyelet from the bottom, from the outside in. Repeat this process with the lace end on your left-hand side, crossing it diagonally to the right side and threading it through the second eyelet from the bottom, also from the outside in.
Step 4: Create the Surgeon's Knot
After crossing the laces at the second eyelet, create an additional loop on one side of the shoe. Take the lace end on your right-hand side and cross it diagonally over to the left side, but instead of threading it through the next eyelet, bring it back around and pass it through the loop created by the lace. Repeat this process with the lace end on your left-hand side, crossing it diagonally over to the right side and passing it through the loop created by the lace.
Step 5: Tighten the Knot
Once you've passed the lace ends through the loops, gently pull them to tighten the knot. The surgeon's knot is known for its secure tying method, ensuring it remains firmly in place and prevents unwanted loosening or slipping.
Step 6: Continue Criss-Crossing
After creating the surgeon's knot, continue the criss-cross pattern by taking the lace end on your right-hand side, crossing it over to the left side, and threading it through the next eyelet. Repeat this process with the lace end on your left-hand side, crossing it over to the right side and threading it through the next eyelet. Continue the criss-cross pattern until you reach the top of the shoe.
Step 7: Adjust the Tension
As you lace up your shoes using the surgeon's knot technique, maintain even tension on both sides. Adjust the tightness of the laces to provide a snug and secure fit, paying particular attention to the heel area for maximum stability.
Step 8: Tie a Secure Knot
Once you've reached the top of the shoe, tie the laces into a secure knot or bow to keep them in place. Ensure the knot is tight enough to prevent any slippage during wear but still allow easy removal when needed.
Step 9: Check the Fit
After lacing your shoes, take a moment to walk around and assess the fit. Pay attention to the reduced heel slippage and the overall security and stability provided by the knot. Make any necessary adjustments by slightly loosening or tightening specific sections of the laces to achieve the desired level of comfort and security.
Tips from Our Editors
- Keep Your Shoes Clean and In Good Condition: Given the likelihood of dirt and scuffs being noticeable on white pants, it's vital to make sure your shoes are free from any marks or stains before combining them with white pants.
- Establish Proper Shoe Storage Habits: When your shoes are not being worn, it's crucial to store them appropriately. Select a cool and dry area, away from direct sunlight, to maintain the best conditions. Utilize shoe trees or gently place tissue paper inside the shoes to preserve their shape and prevent creases.


On a Final Note
So there you have it! You've officially graduated from shoe lacing 101 to becoming a certified knot-tying maestro. With the surgeon's knot lacing method in your arsenal, you'll be the envy of all your friends with your impeccably laced footwear.
No more tripping over loose laces or feeling like a tangled mess. From now on, your shoes will stay snug and secure, ready to take on any adventure that comes your way.
So go forth, my fellow shoe enthusiasts, and spread the word about the Surgeon's Knot. Share your newfound knowledge, dazzle your loved ones with your lacing finesse, and never settle for mediocre knots again.
Related Articles


